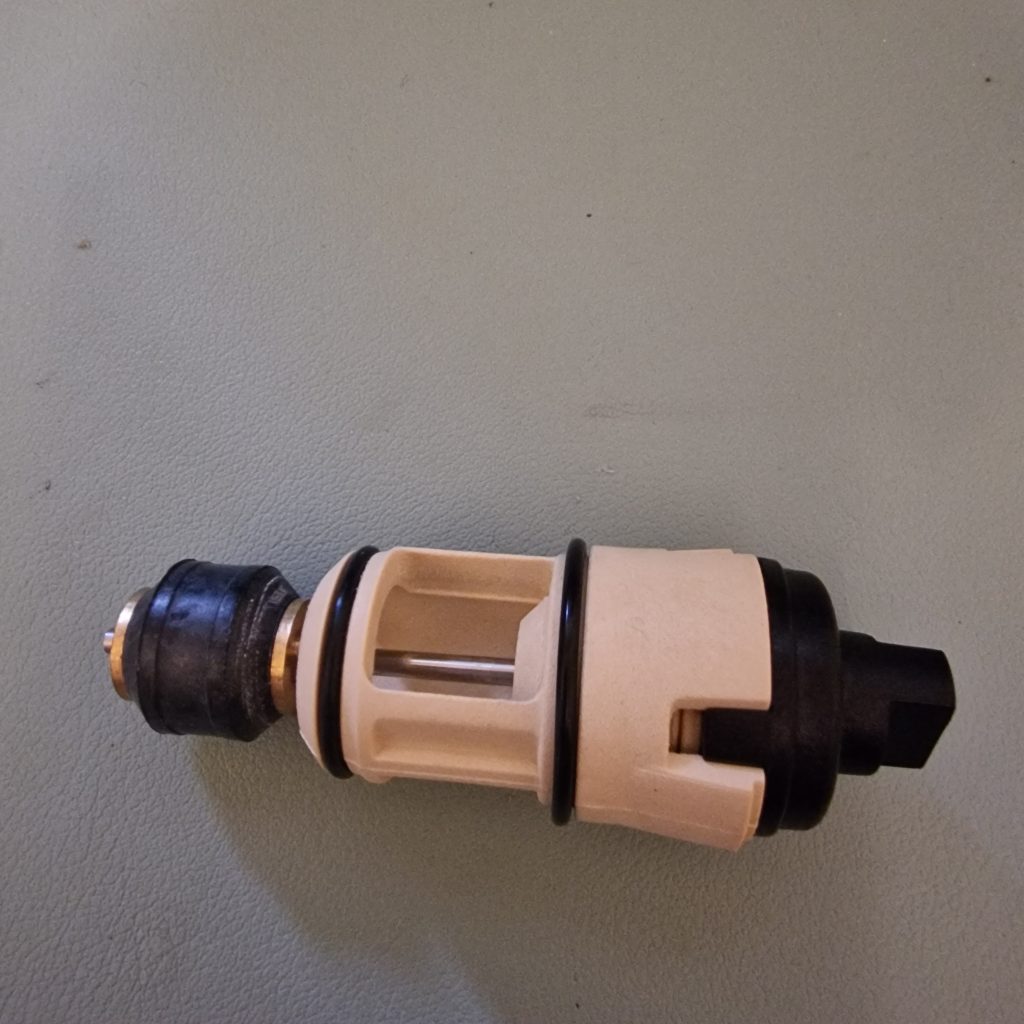
Kit Contents
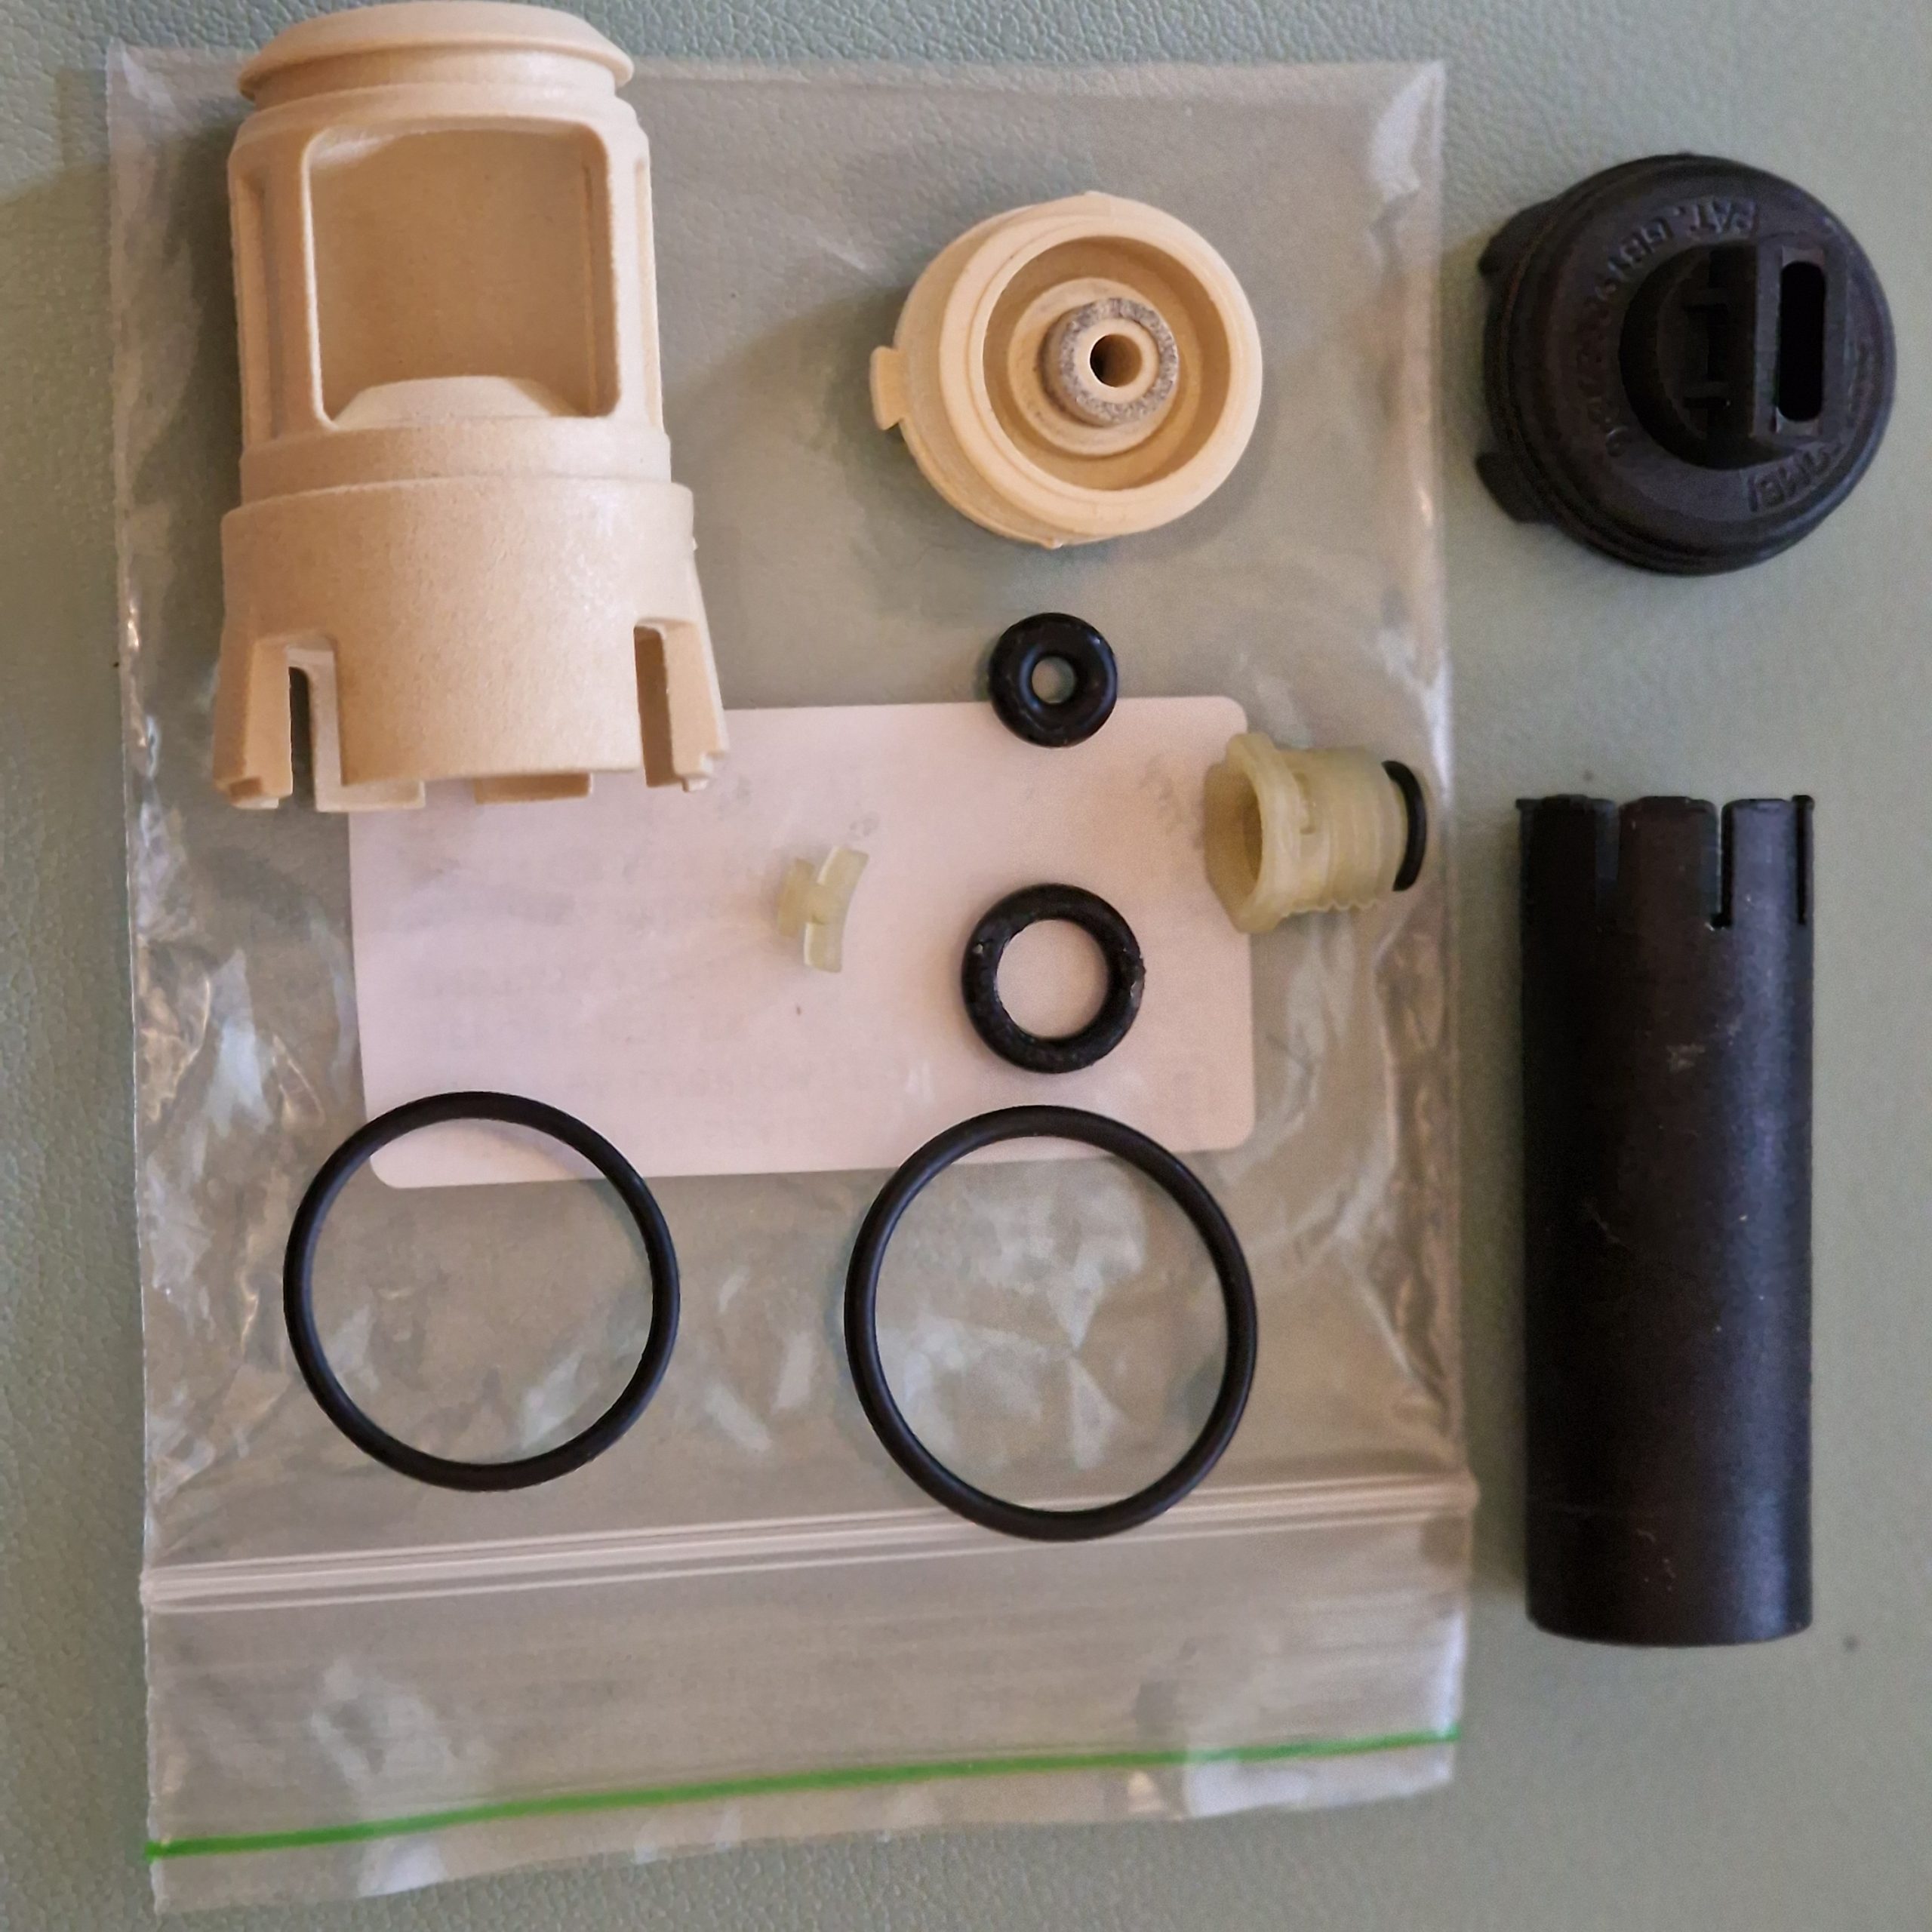
- 4 O rings
- Cartridge Body
- Cartridge Cap
- Seal Canister
- Locking Pin
- Service Tool
- Installation Tool
Step 1
Follow “New Tools” instructions to remove the old cartridge. Remove the pin/bung from the old cartridge and clean – ensure any rubber that may have attached to the pin is removed so that the pin is smooth.
You will need silicone grease to aid assembly. Do not use any other type of grease as this could damage the O rings or the engineering plastic.
Step 2
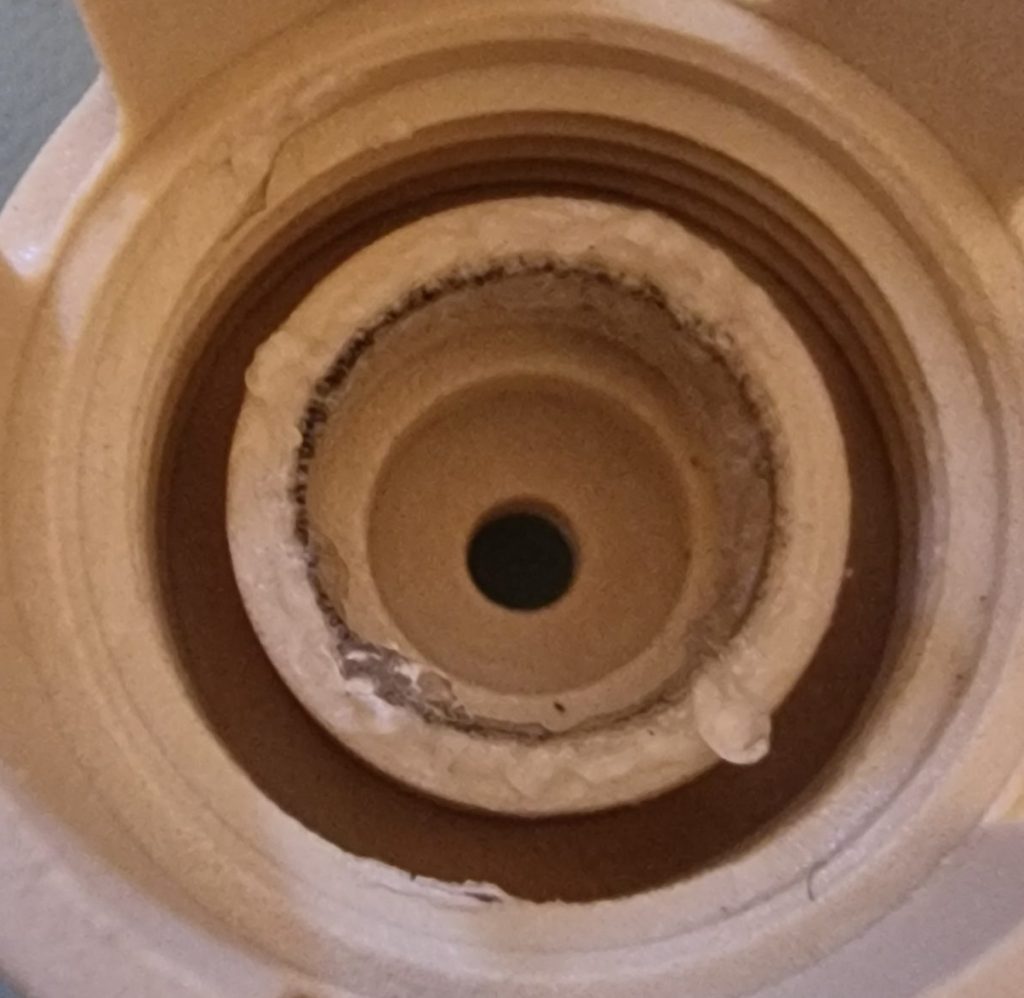
Apply silicone grease to the top and inside the cup in the cartridge body
Step 3
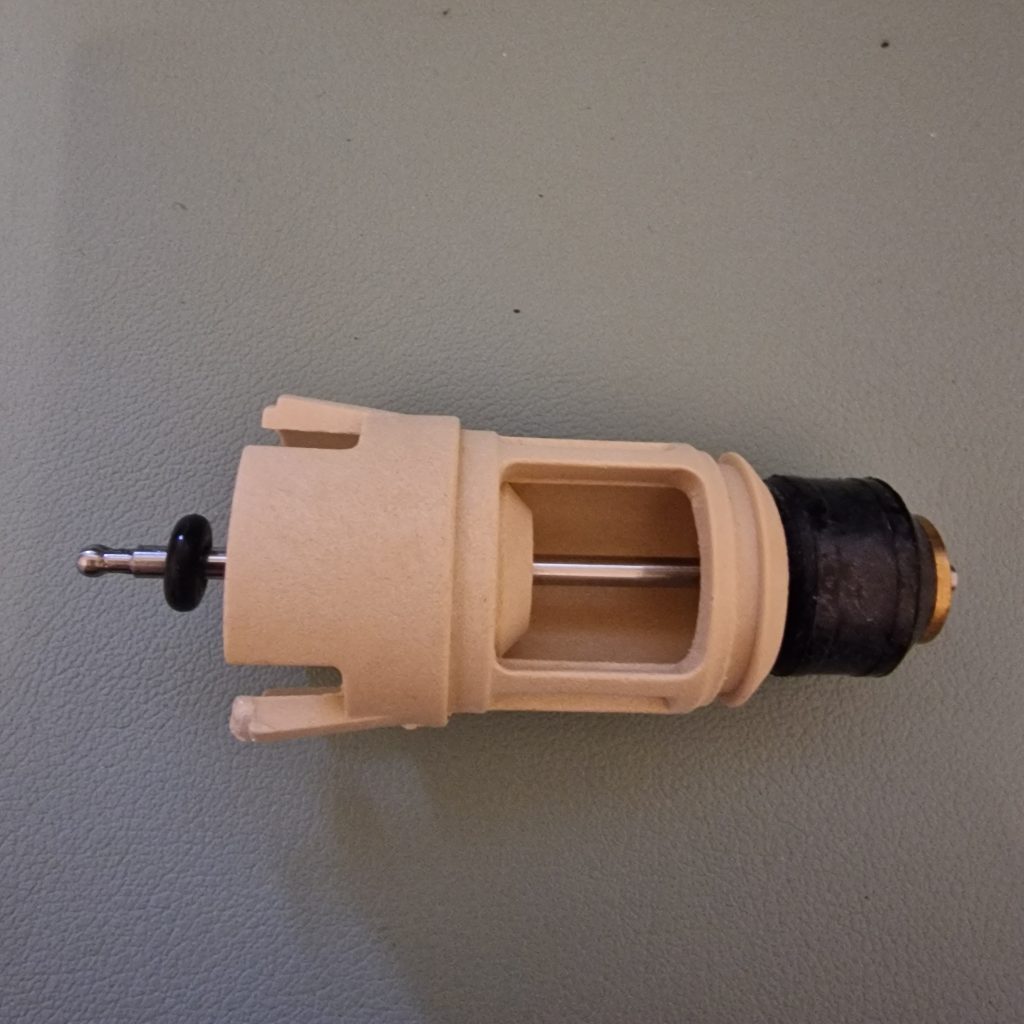
Insert pin/bung and push smallest O ring over the pin
Step 4
Place next smallest O ring on the cartridge cap
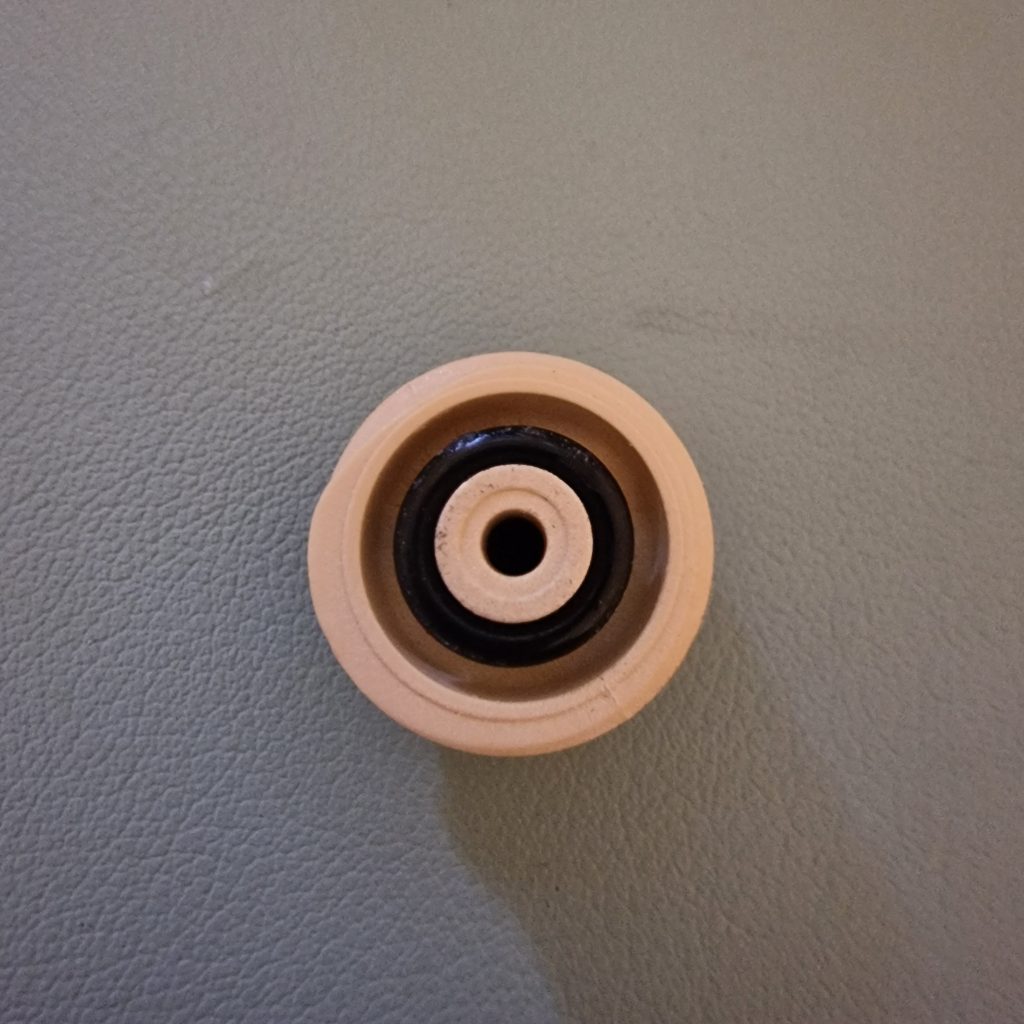
Step 5
In insert cap into cartridge
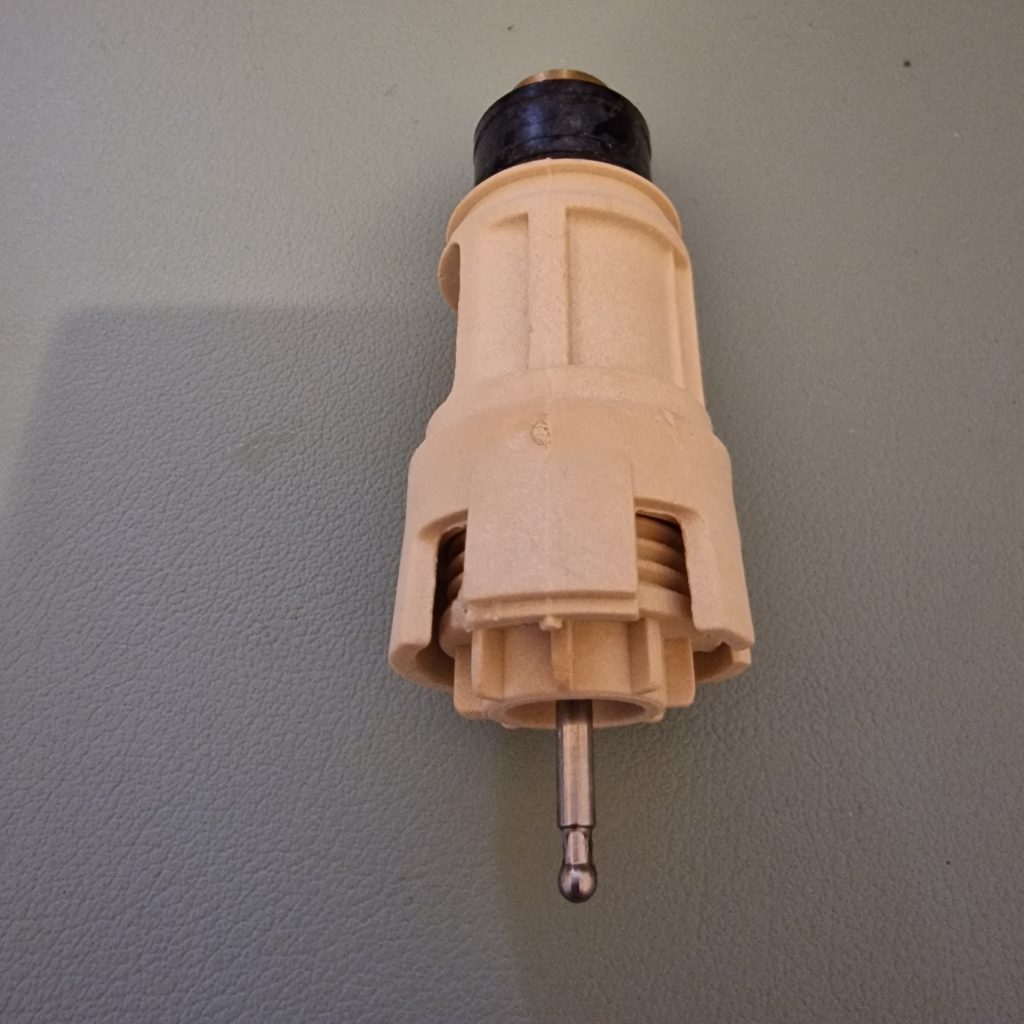
Step 6
Attach service tool and tighten cap. NOTE: this is a left hand thread. You will meet some resistance when the O ring engages with the cartridge cup but continue to turn until you come to a complete stop.
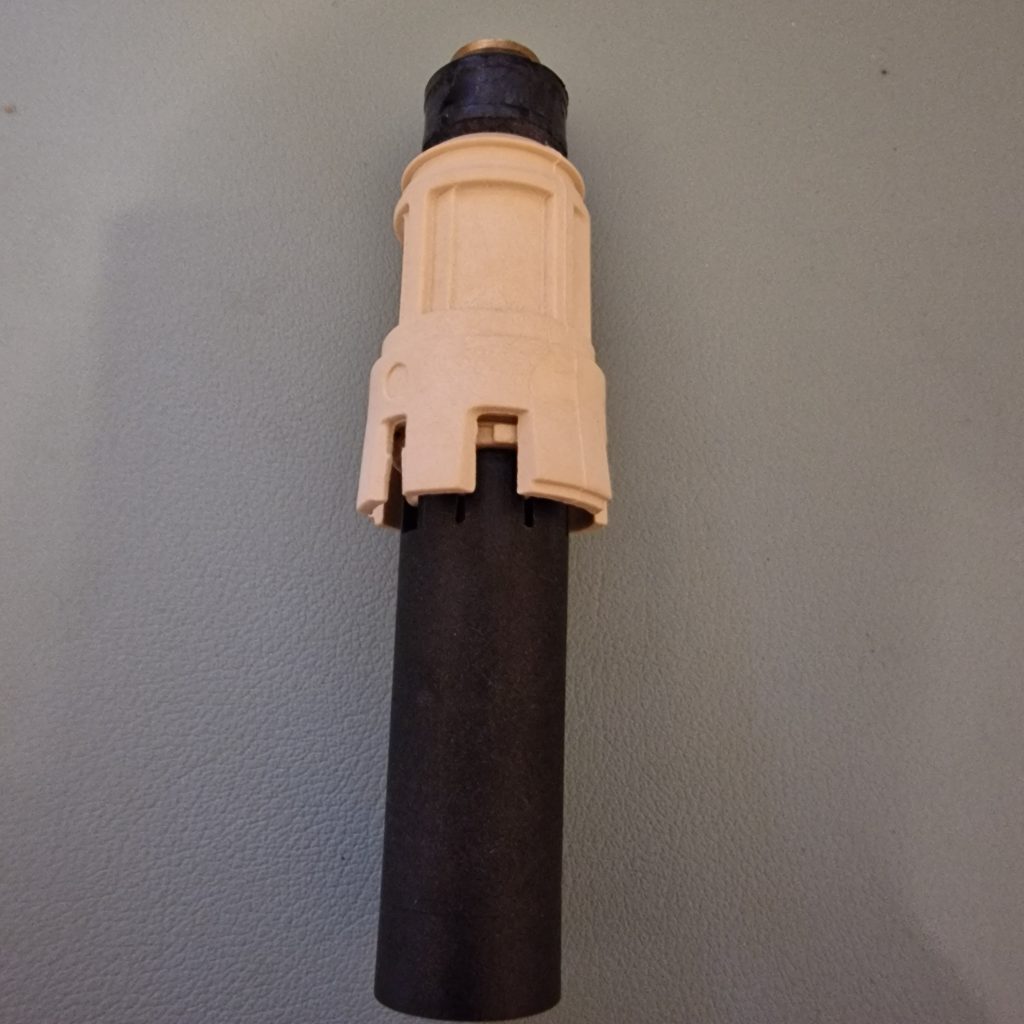
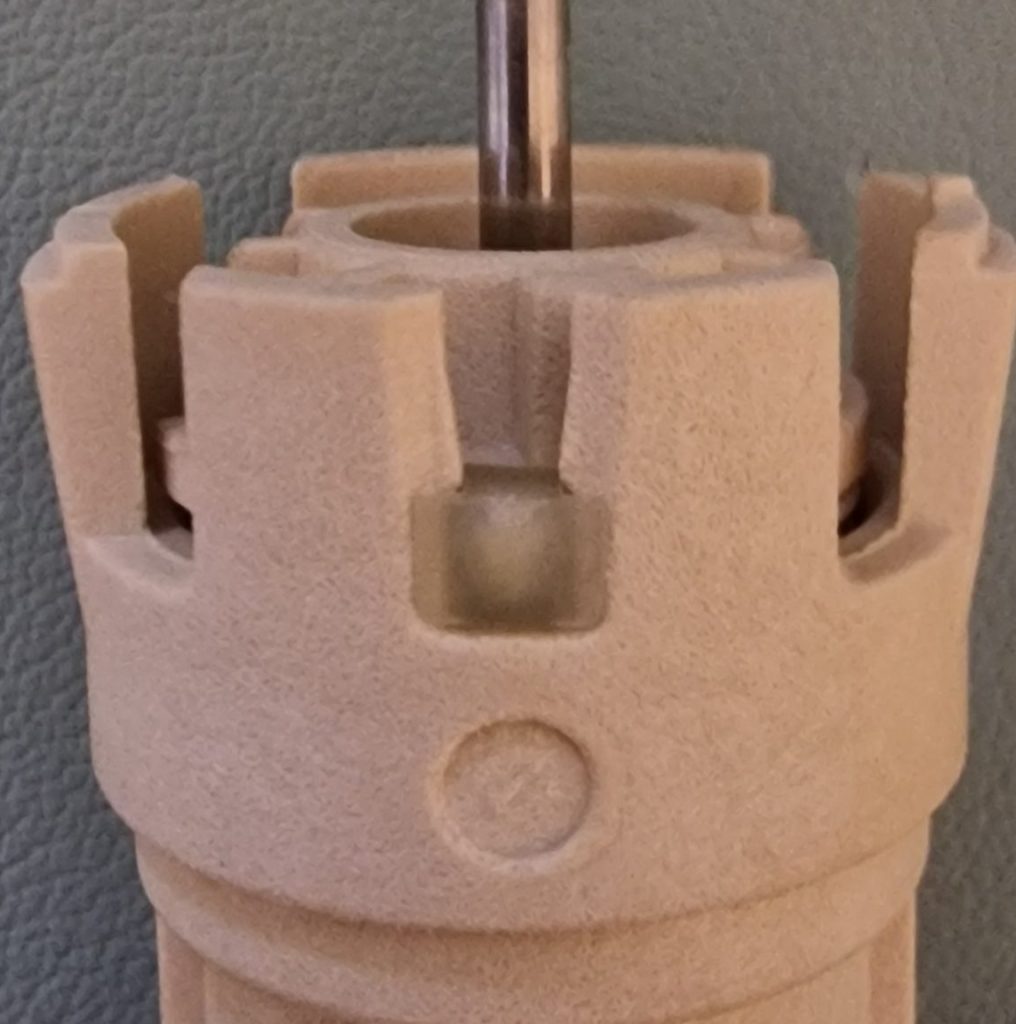
Step 7
Slide locking pin into position
Step 8
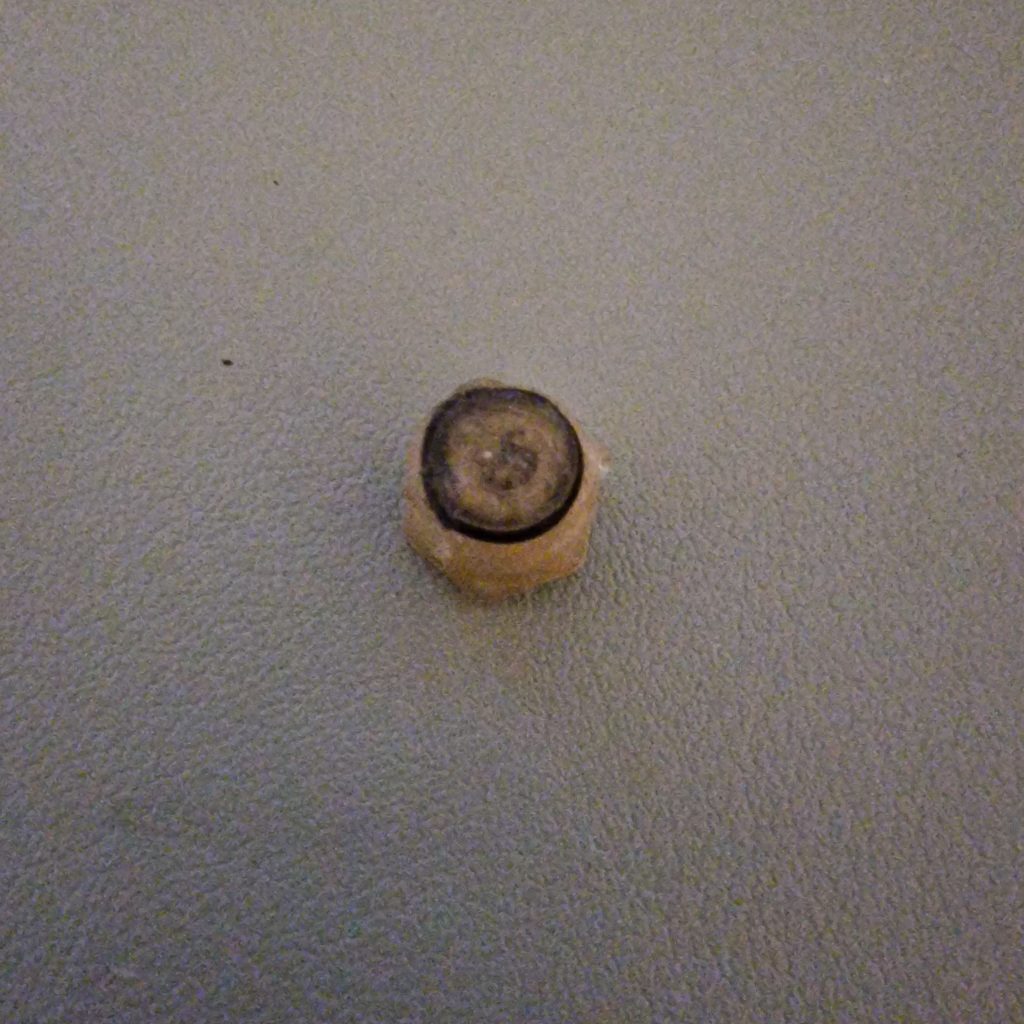
Lubricate the seal canister external O ring with silicone grease and also place over the hole
Step 9
Fit the canister (nut end) into the service tool and place over the pin. Turn clockwise and fully tighten.
Step 10
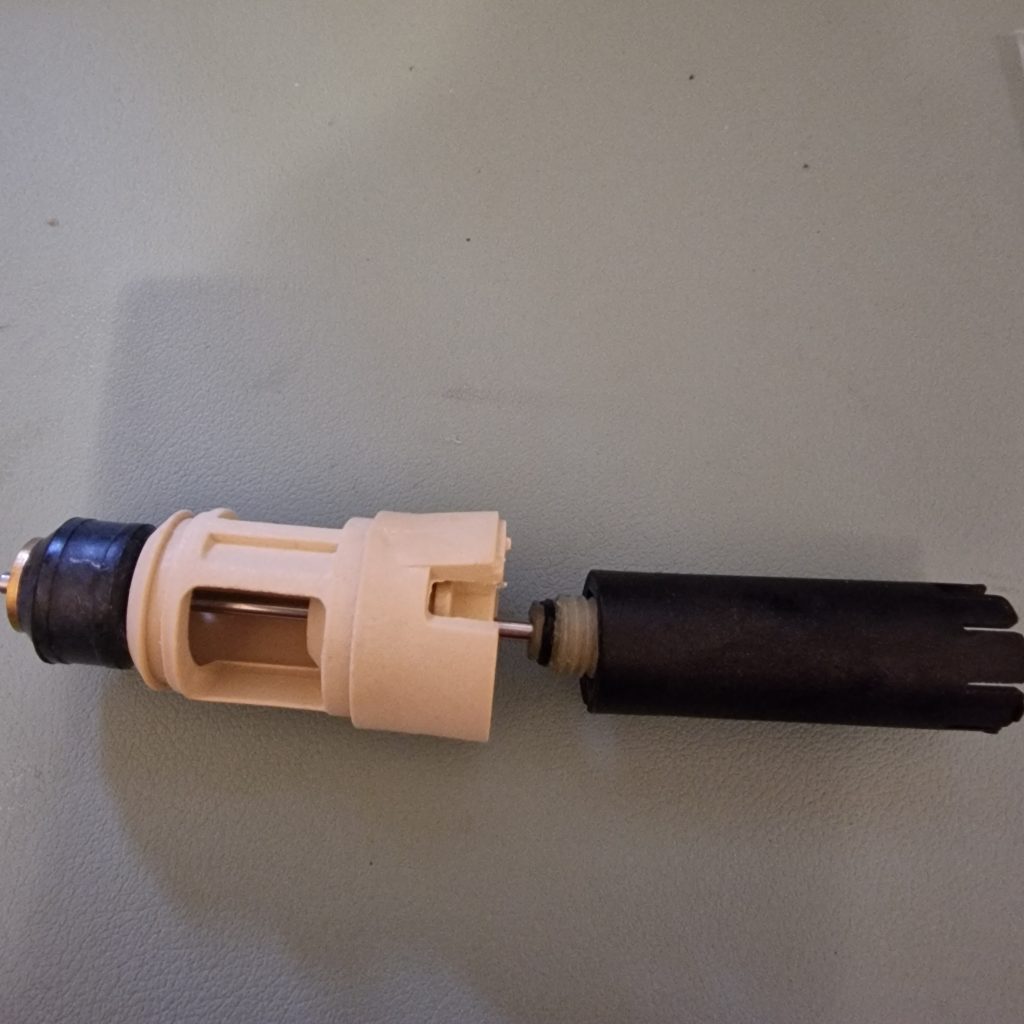
Fit the 2 remaining O rings on the cartridge – smallest at the rubber bung end. Lubricate both O rings with silicone grease and attach installation tool.
Revert to the “New Tools” instructions to complete installation.